Table des matières
When you wish to create a new album on Sportpxl, follow these simple steps:
Step 1 — Access album creation #
- – Go to the “My Albums” tab: Once on the dashboard, click on the “My Albums” tab located in the sidebar. This will allow you to view all the albums you have already created and manage their content.
- – Create a new album: Once on the “My Albums” page, locate the “Create Album” option and click on it. This will allow you to begin setting up your new album.
- – Log in to your account: Go to app.sportpxl.com/dashboard/login and enter your login details. You will be directed to your account dashboard. Don’t have an account? Click here to request access to Sportpxl.
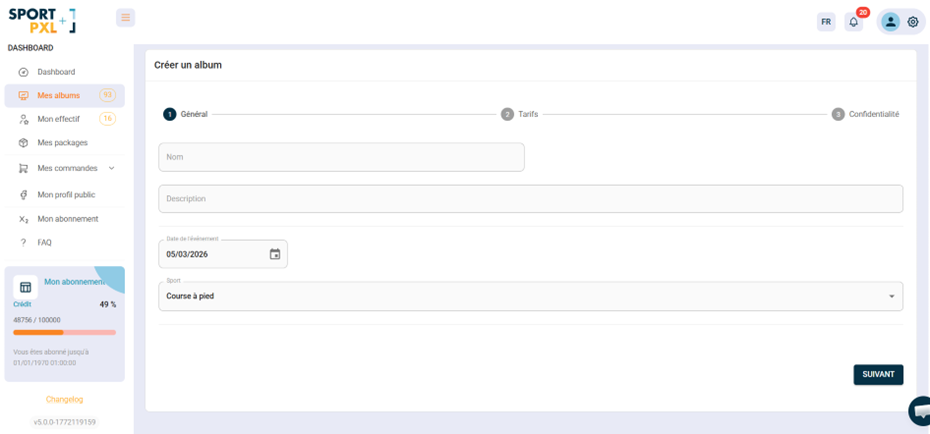
Step 2 — Enter the album information #
- – Enter the album name (e.g. Trail des Fées 2025)
- – Enter the date of the event
- – Select the relevant sport
- – Select Visibility: public or private (password protected)
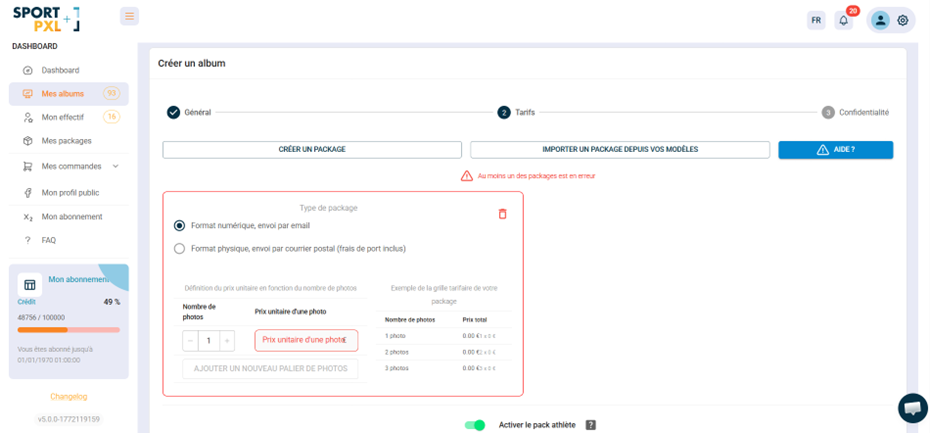
Step 3 — Configure the sales options #
- – Define whether the photos are free (set the price to £0) or paid
- – Provide information on download and/or printing fees, if applicable.
💡 You can edit all this information after creating the album from “My Albums” → edit icon.
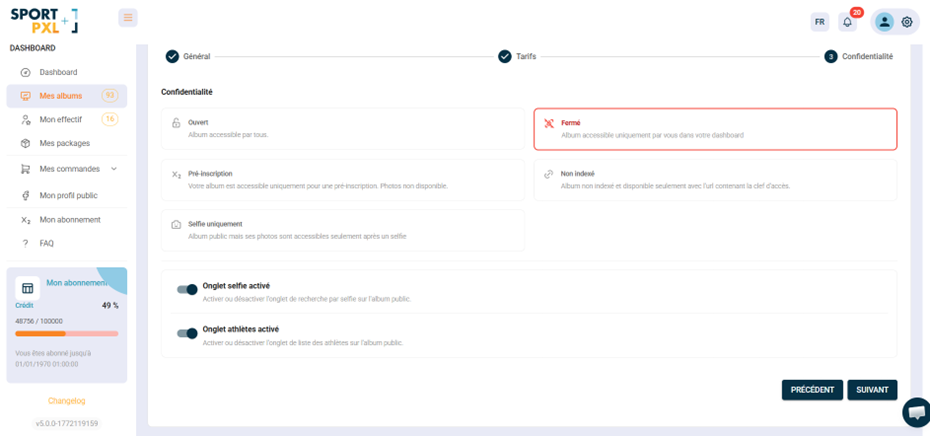
Step 4 — Confirm and access your album #
– Select the access mode: Open (accessible to all), Closed (visible only in your dashboard), Pre-registration (pre-registration form visible, photos not available) or Unindexed (accessible only via shared key)
- – Enable or disable the Selfie tab to allow or disallow participants to search for their photos using facial recognition from the public album.
– Enable or disable the Athletes tab to show or hide the public list of participants identified in the album.
- 💡 These settings can be changed at any time from the album settings. For example, close the album while importing photos, then switch it to Open mode once your selection is ready.
- Click “Next” to confirm the creation of your album. You will be redirected to your album, ready to receive photos.
- Get the public URL of the album to share it or generate a QR code.
For a visual demonstration of these steps, watch the explanatory video below: #
Please do not hesitate to contact us if you have any further questions or need assistance creating your album on Sportpxl. Our team is here to help you get the most out of our platform.


