From a photo’s details page, you can edit identifications in two different ways — with or without propagation, depending on the method used.
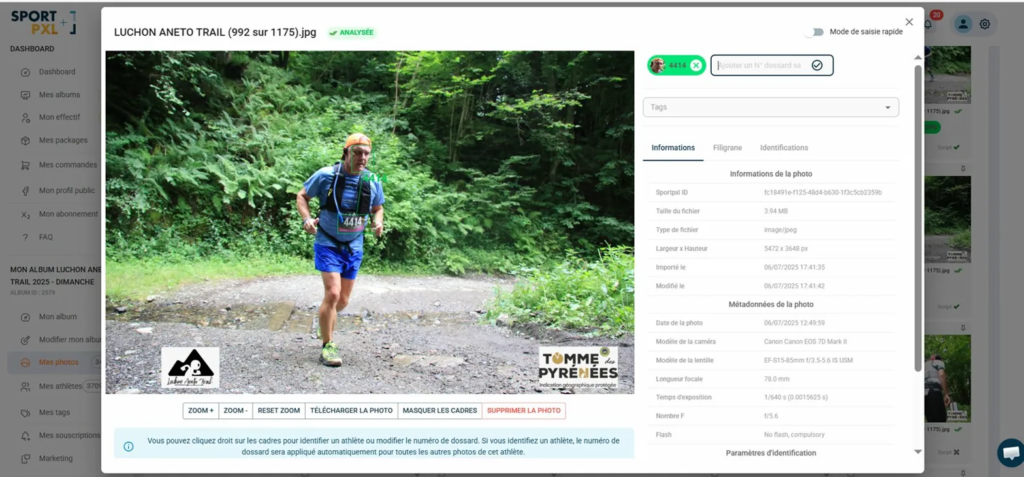
Method 1 — Via the “Add a race number” field #
This field allows you to manually add a race number directly to the photo, without using a detection frame.
- Add a race number: enter the number in the "Add a race number" field at the top right, then confirm.
- Delete a badge: click on the cross on the corresponding badge at the top of the file.
⚠️ Changes made using this method will not be applied to other photos. The added badge is not linked to a detected face — it only applies to this photo.
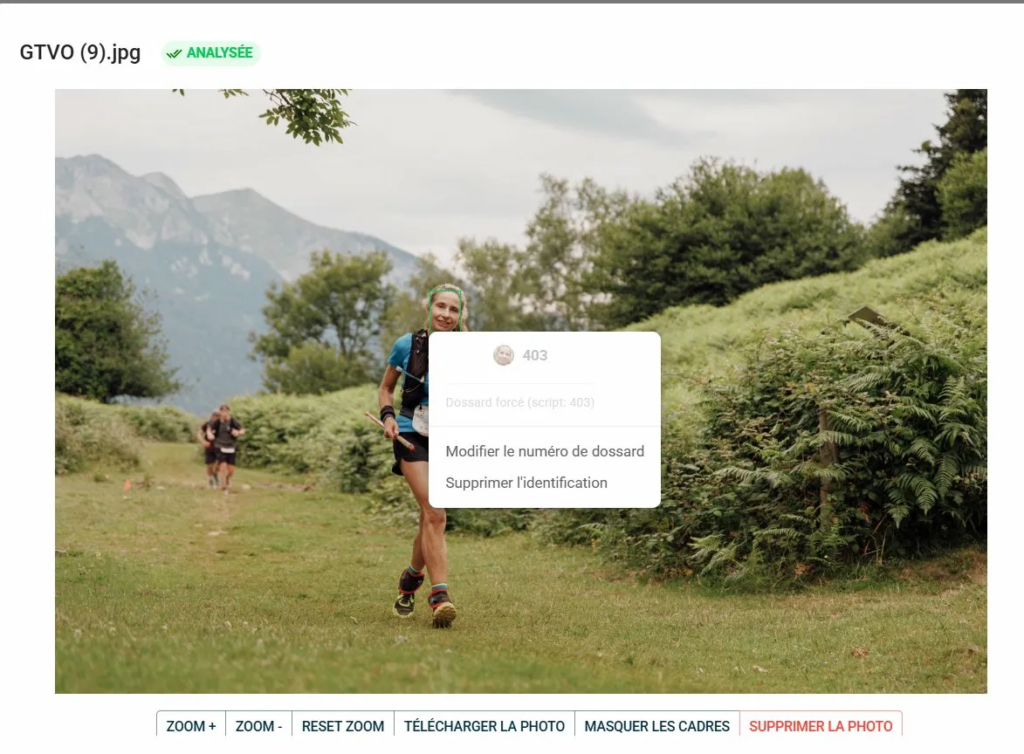
Method 2 — Right-clicking on a detection frame #
This is the recommended method for correcting erroneous identification with propagation. The coloured frames superimposed on the photo represent the algorithm’s detections — a green frame around the face, a yellow frame around the bib number.
- Open the photo file
- Right-click on the frame of the face concerned.
- A context menu appears with two options:
- Change bib number — to correct the bib number associated with this face
- Remove identification — to completely dissociate this face from its bib number in this photo
The change is automatically applied to all photos in the album where the same face is identified.
💡 The context menu also indicates the origin of the identification — for example, “Forced bib number (script: 403)” means that this bib number was assigned by the correction script. This information is useful for understanding why an identification was generated and deciding whether it needs to be corrected.
Summary #
| Method | Propagation |
|---|---|
| “Add a race number” field | ✗ No — photo only |
| Right-click on the detection frame | ✓ Yes — all photos of the face |


